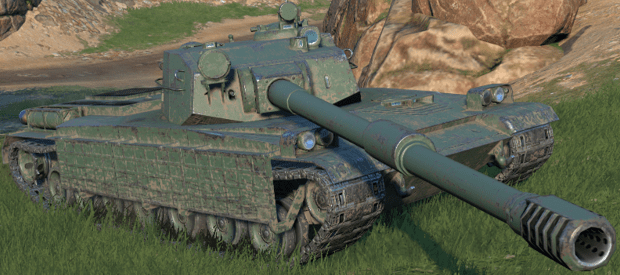
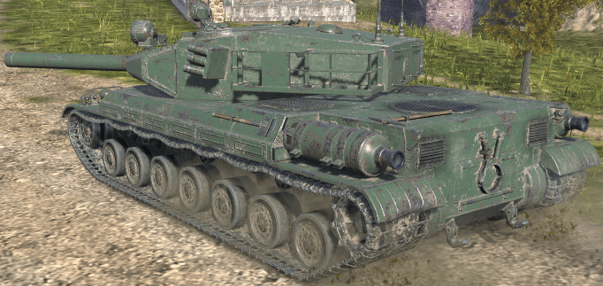
VII- BZ-58
Stock turret


Drag slider <- left to view 223mm APCR

vs 178mm AP (top image), 223mm APCR (bottom image)
Using -7 gun depression
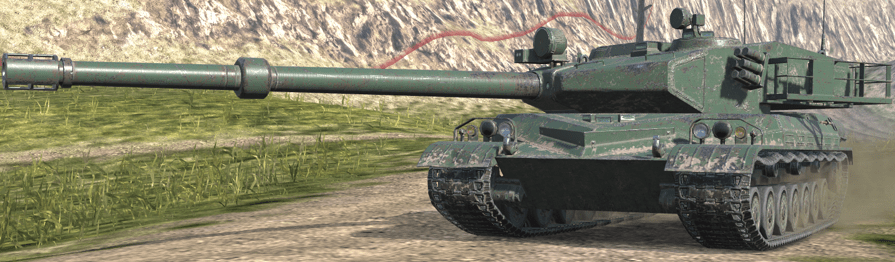
Top turret


Drag slider <- left to view 223mm APCR
vs 178mm AP (top image), 223mm APCR (bottom image)
Using -7 gun depression
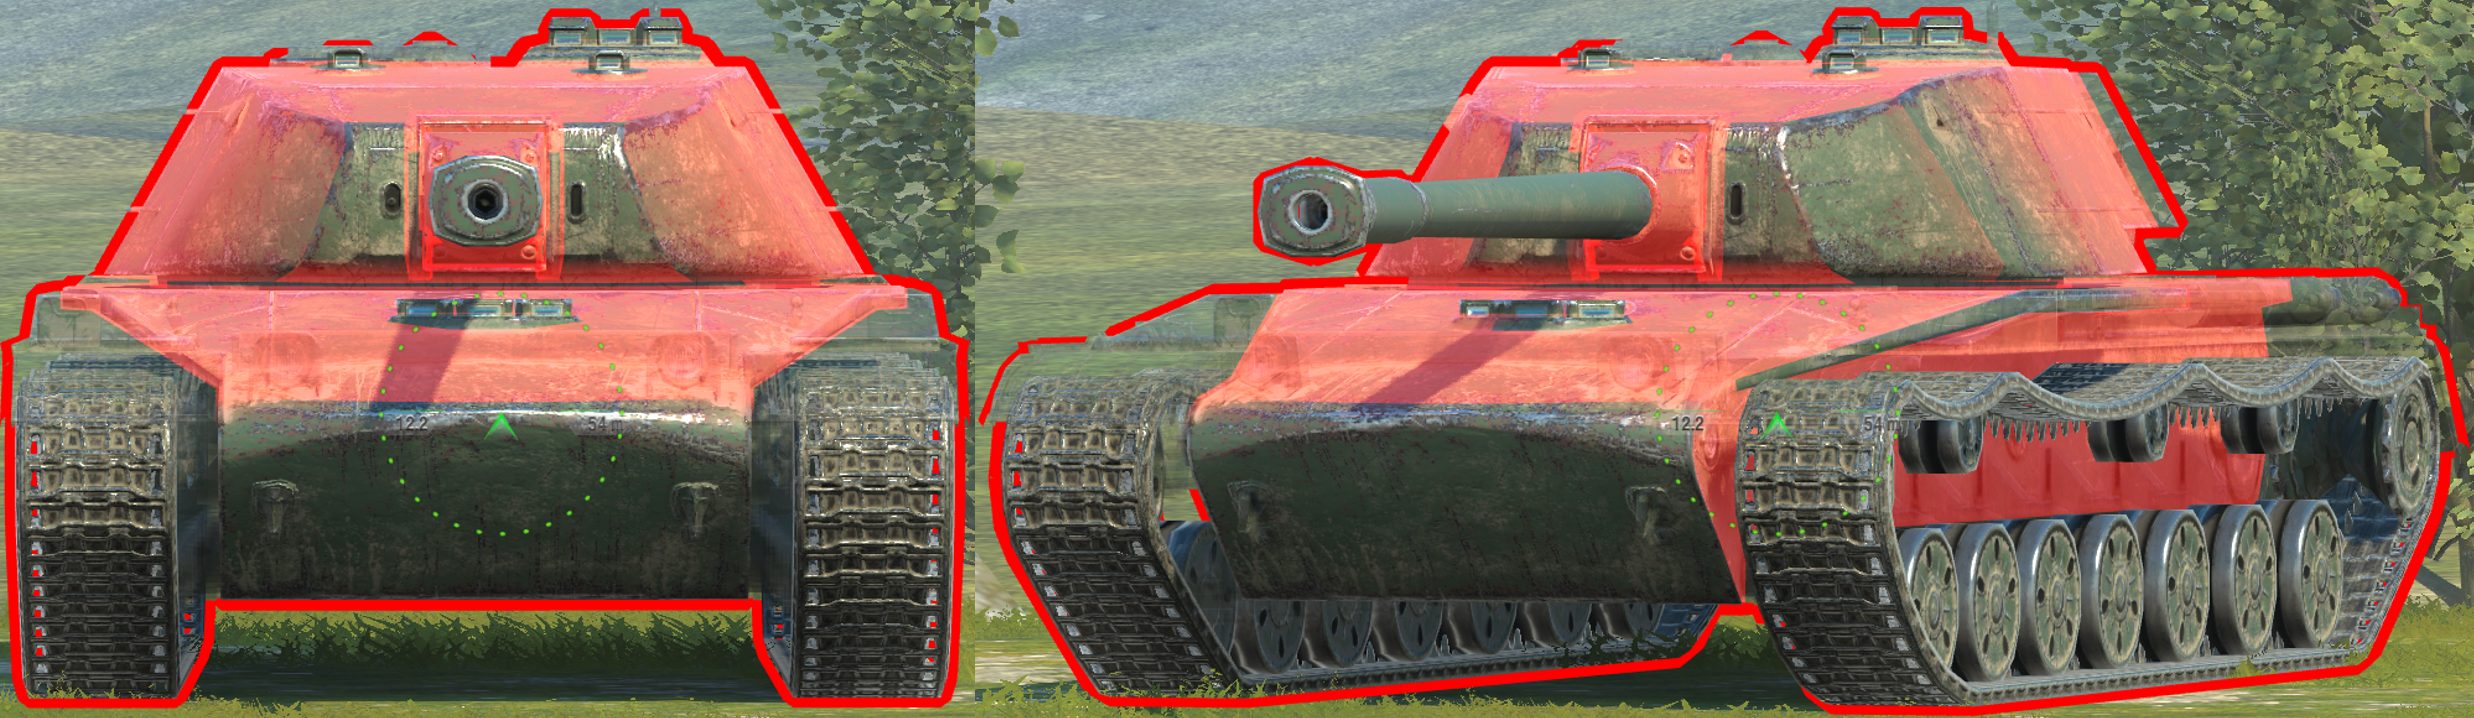
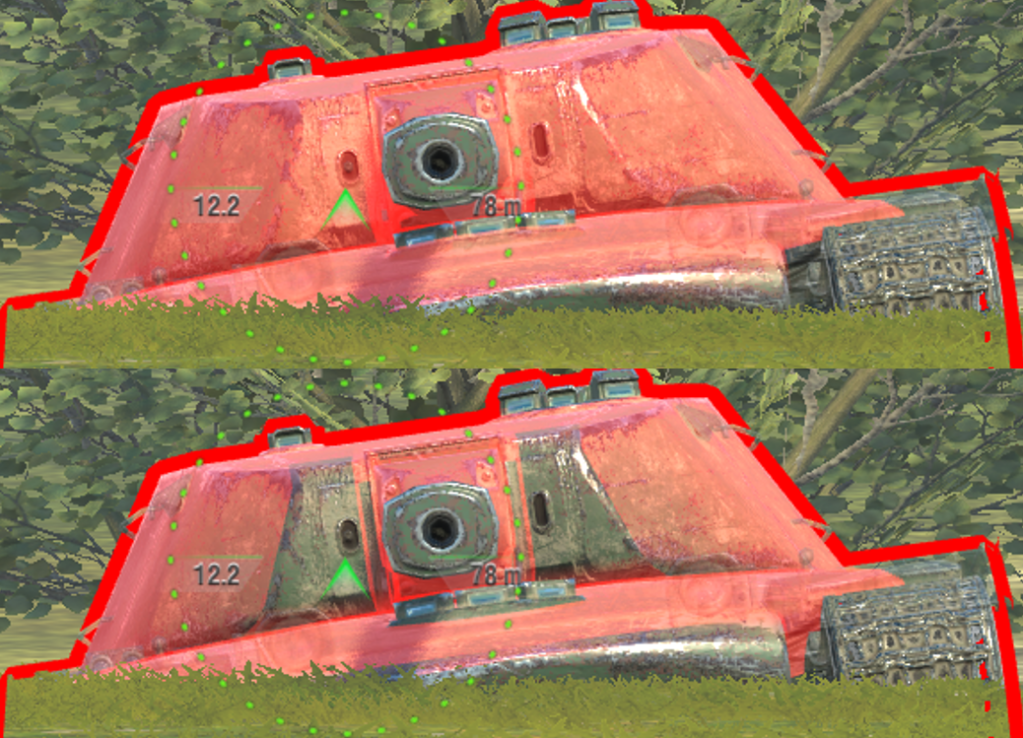
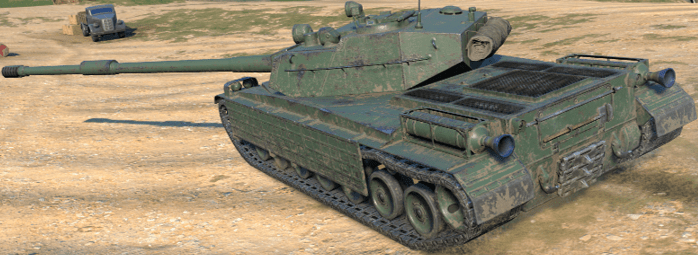
VIII- BZ-166
Stock turret


Drag slider <- left to view 265mm APCR

vs 225mm AP (top image), 265mm APCR (bottom image)
Using -7 gun depression
Top turret


Drag slider <- left to view 265mm APCR

vs 225mm AP (top image), 265mm APCR (bottom image)
Using -7 gun depression
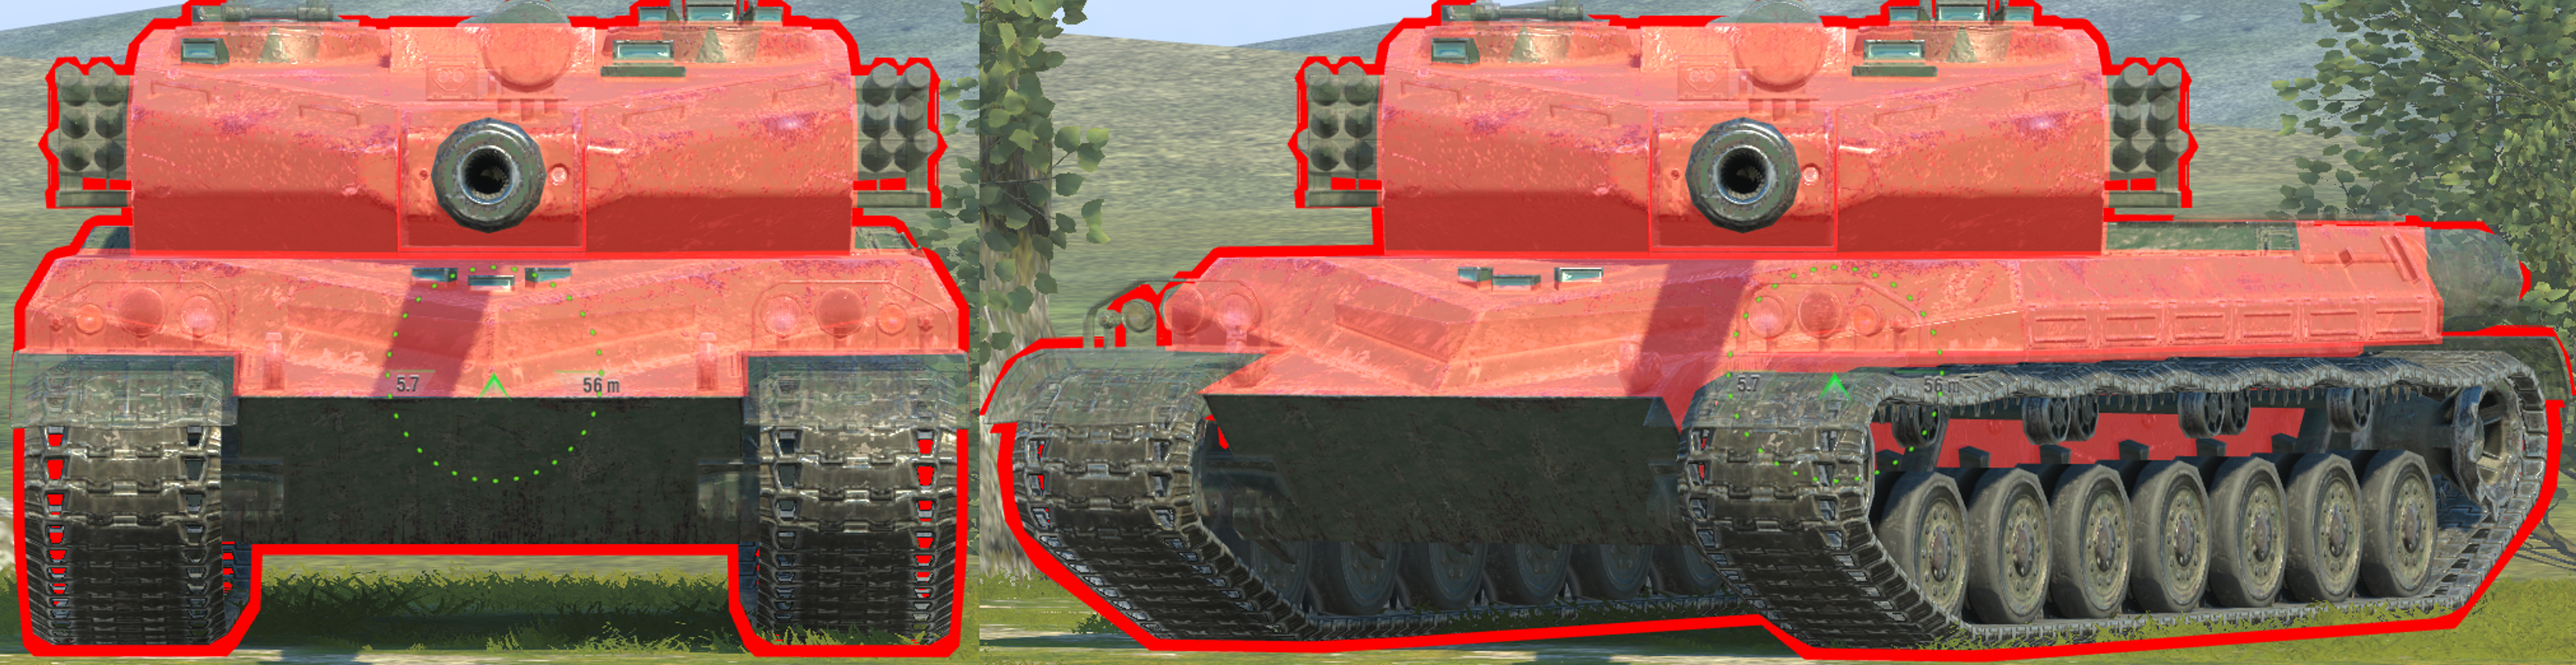
Armour caveats:

Lower plate has an auto-ricochet angle at the top.

When the hull is turned, the edges and sides also bounce.
Stock turret has stronger armour:
The stock turret has significantly stronger turret armour, with a much smaller cupola, though it sacrifices some other stats.
If using the top turret:
-Accuracy from 0.380 to 0.362.
-Reload time from 11.5s to 11.2s, DPM from 2081 to 2143.
-HP from 1700 to 1800.
-Armour much weaker

Shown against 265mm APCR penetration.
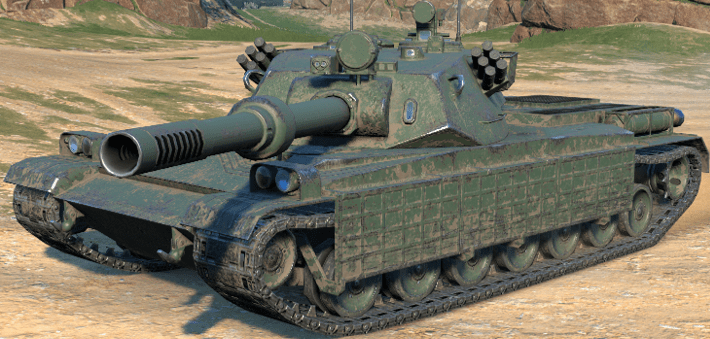
IX- BZ-68
Stock turret


Drag slider <- left to view 320mm HEAT

vs 246mm AP (top image), 320mm HEAT (bottom image)
Using -6 gun depression
Top turret

Drag slider <- left to view 320mm HEAT

vs 246mm AP (top image), 320mm HEAT (bottom image)
Using -6 gun depression
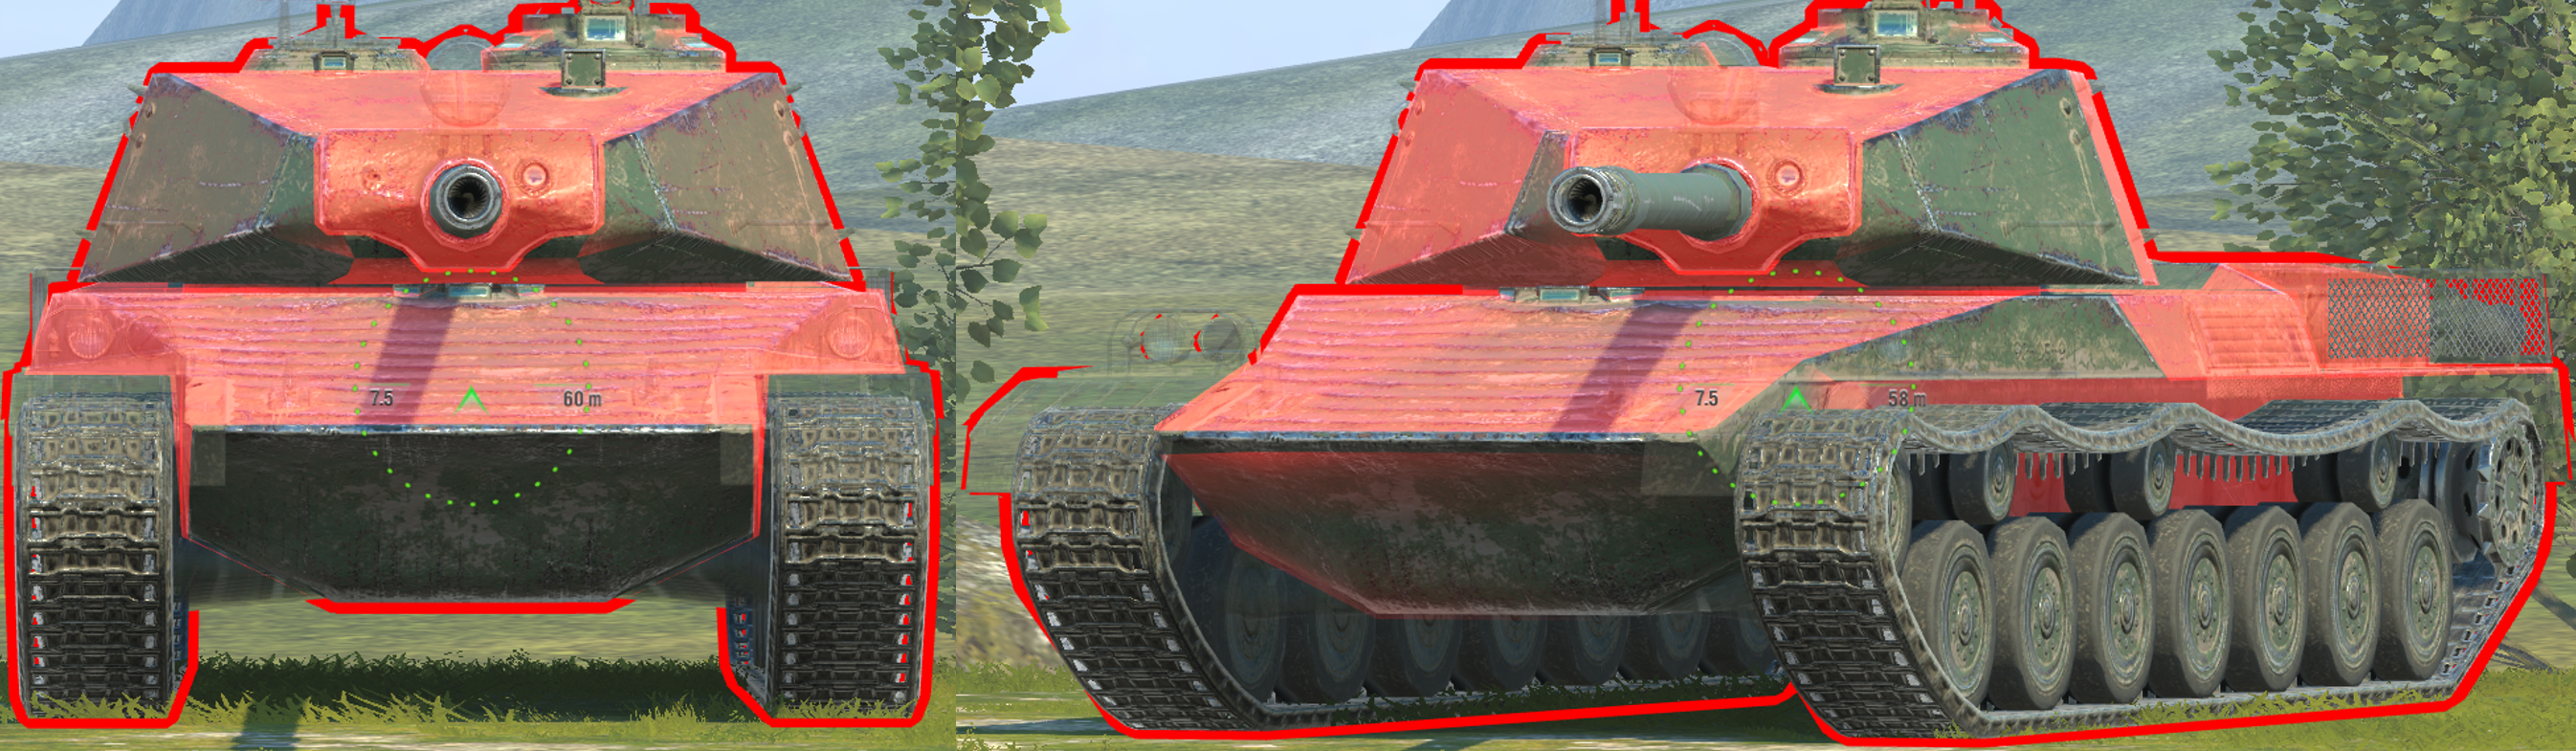
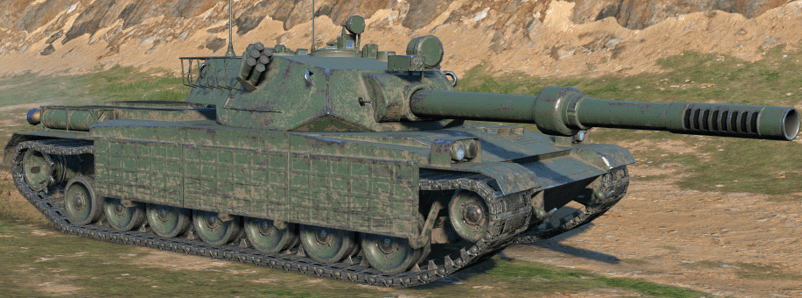
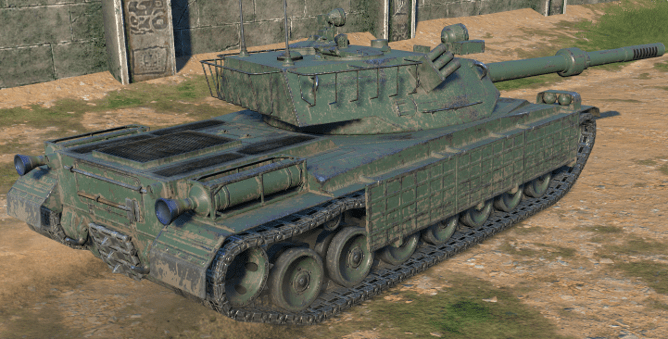
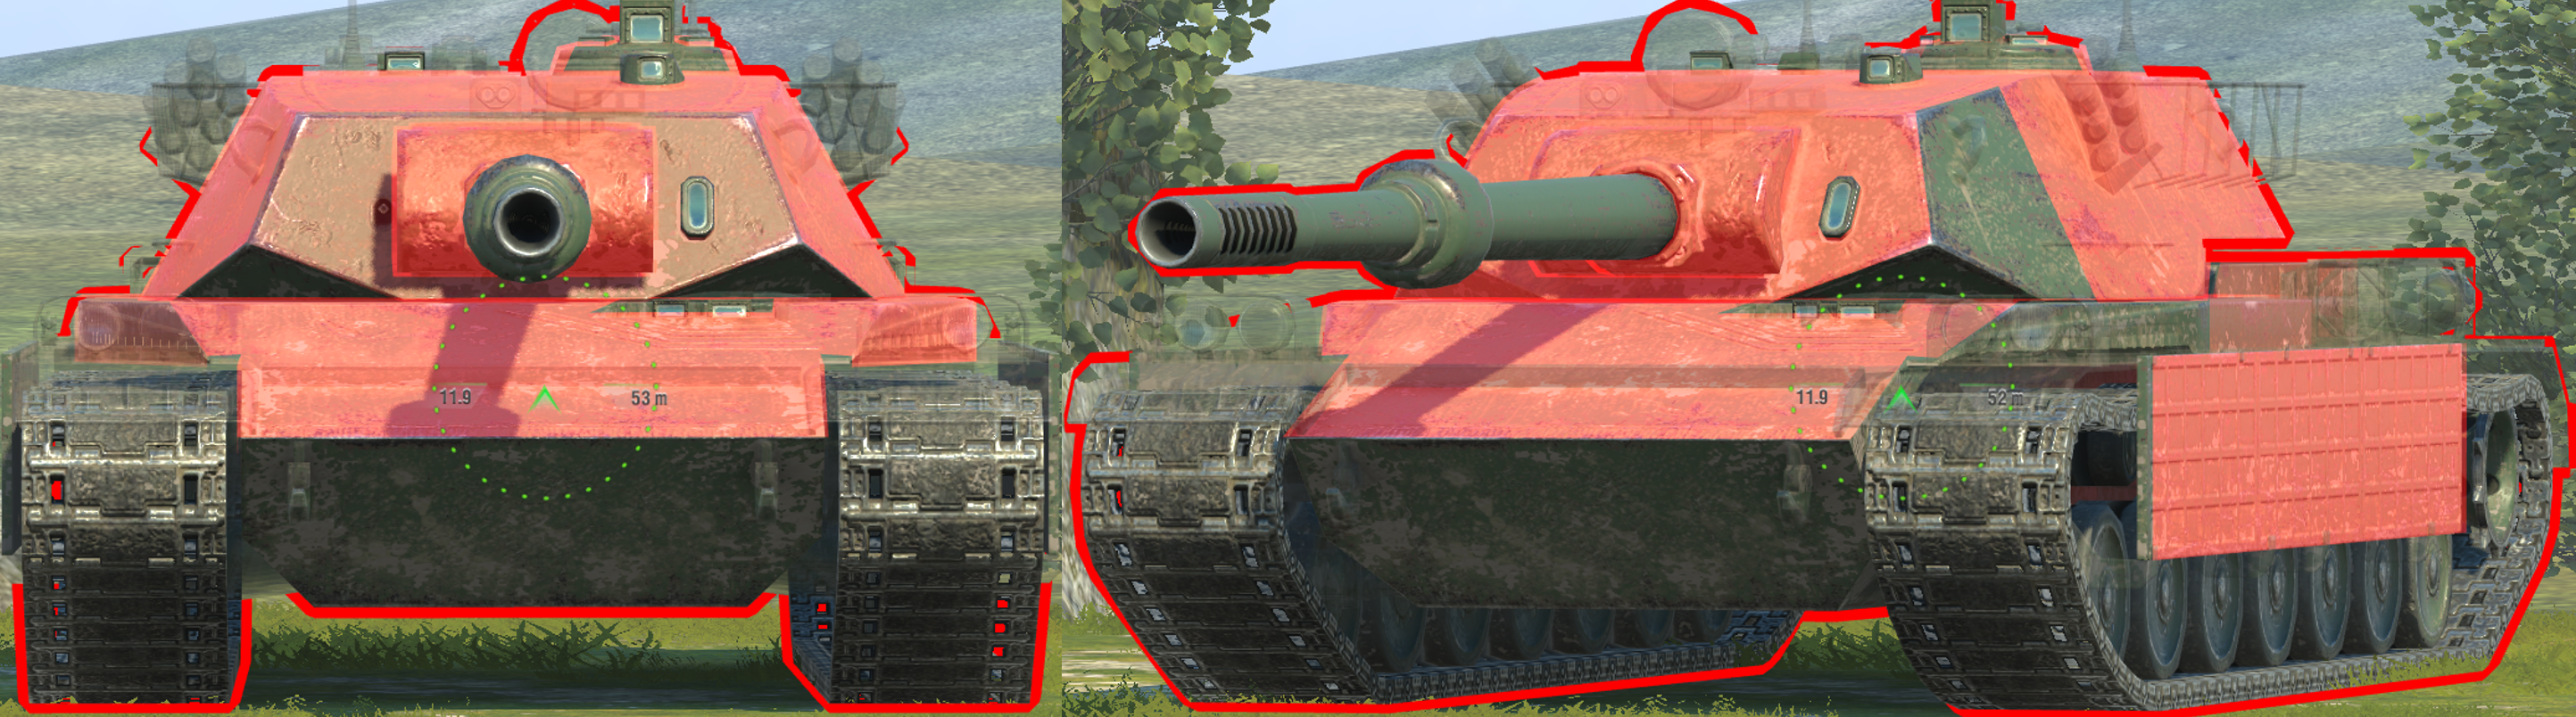
X- BZ-75


MT level penetration:

Drag slider <- left to view 300mm HEAT

vs 245mm AP (top image), 300mm HEAT (bottom image)
Using -8 gun depression
HT level penetration:


Drag slider <- left to view 330mm HEAT

vs 257mm AP (top image), 330mm HEAT (bottom image)
Using -8 gun depression
